One of our customers, in West Kelowna BC, sent us these photos of the golf simulation room they built.
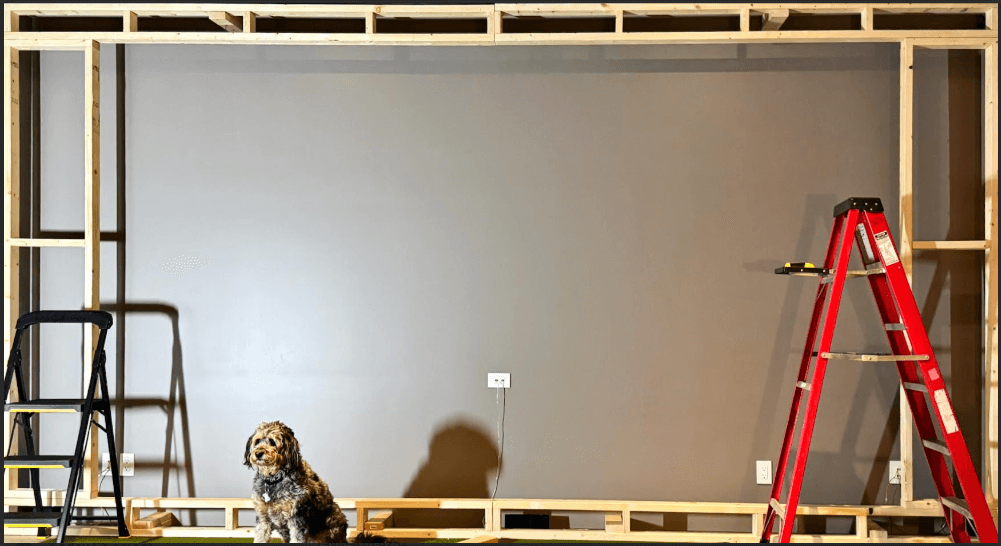
They started with a 2x4 frame wooden frame mounted a few inches away from the wall. The inner area of the frame determines the size of tarp to be ordered.

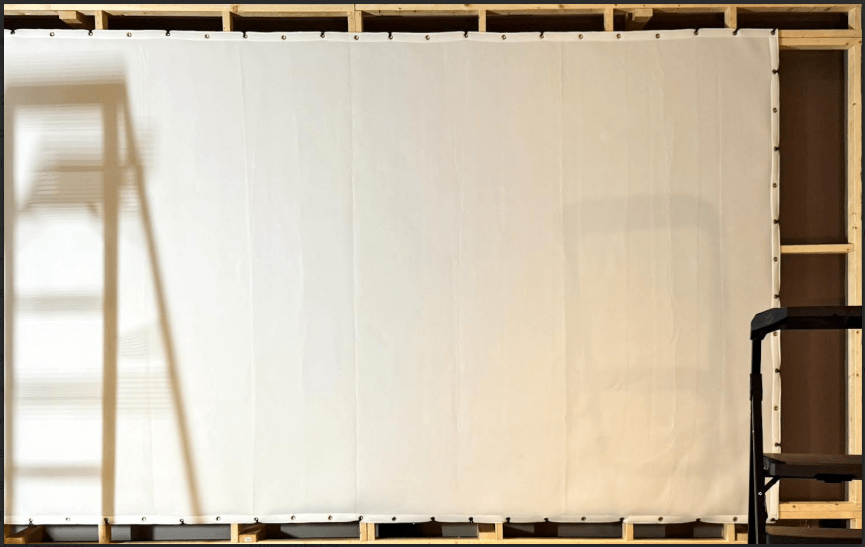
The screen was mounted onto the frame using bungees.

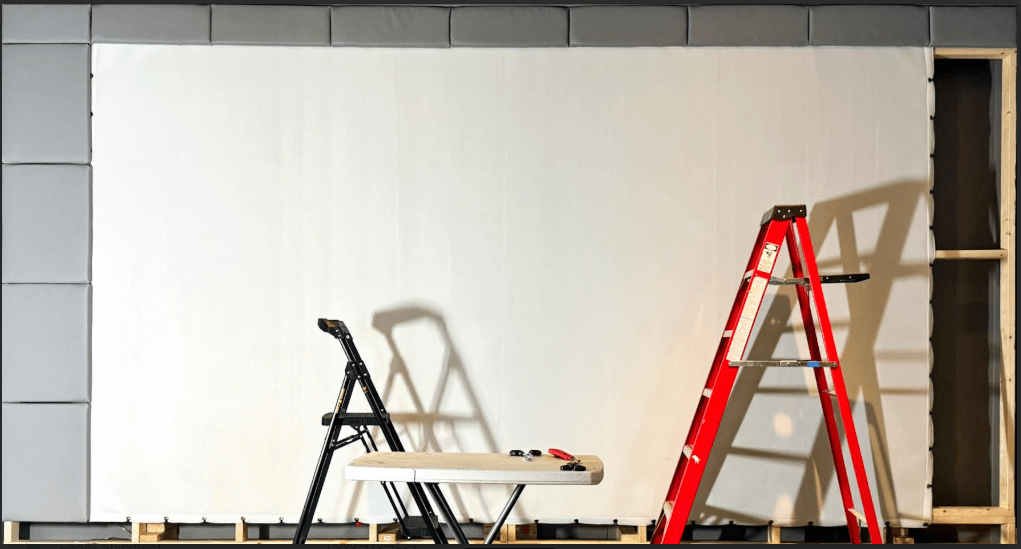
Cushioned wall pads were attached to the edges to frame the screen and hide the grommets.

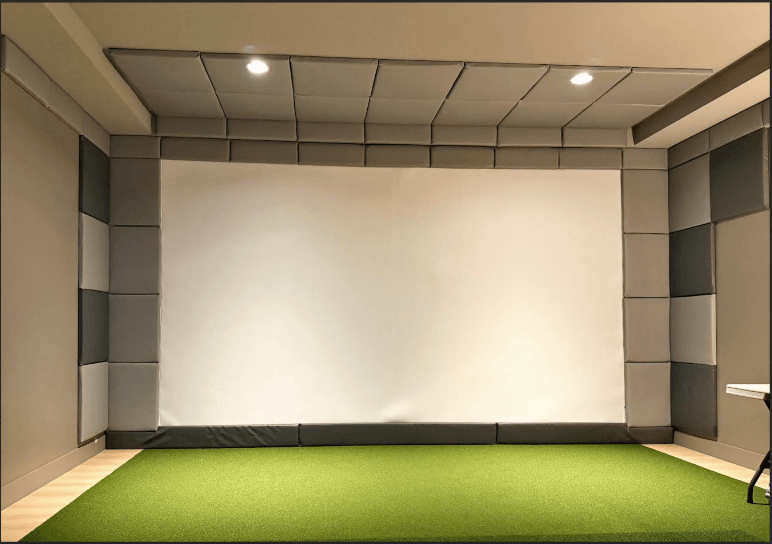
Here we see the final setup. This is a very professional looking sim room which is also very safe since the padding on the walls and ceiling will minimize bounce back.

If you have completed a DIY project involving our tarps, we would appreciate receiving photos of what you have done so we can add these to our blog.